
How to Organize Hair Tools (Room by Room, Safely)

When it comes to how to organize hair tools, the right choice depends on a few key details. Most hair tool messes come from three problems at once. The tools are hot. The cords tangle. And there is never enough counter space. Fix those three things and the clutter stops coming back.
How To Organize Hair Tools: To organize hair tools, sort them by how often you use them, give hot tools a heat safe holder with steel or silicone cups, and match your storage to your space. Use a countertop organizer for daily tools, a drawer insert for the rest, and a wall or over the door mount when counters are full. Let hot tools cool for 20 to 30 minutes before you store them away.
The rest of this guide shows you how to build that system, step by step, whether you have a big vanity or a tiny rental bathroom.
Start by sorting: keep only what you reach for daily
Open the drawer or basket where your tools live now. Take everything out. You will almost always find tools you have not touched in months.
Split what you own into two groups. The first group is daily tools, the ones you use most mornings. For many people that is a dryer and one iron. The second group is occasional tools, like a special wand or a second straightener you keep for events.
This one step changes everything. Daily tools earn a spot out in the open, where you can grab them fast. Occasional tools go into deeper storage, out of the way. When you stop storing all your tools the same way, your counter clears itself.
Be honest during the sort. If a tool is broken or you have not used it in a year, let it go. Less to store means less to organize.

Store hot tools safely first
Safety comes before looks. A hot flat iron or curling iron is the one tool that can burn skin, scorch a surface, or start a fire if you put it away wrong.
The heat is real. Many flat irons and curling irons reach up to 450°F, which is about 230°C, at their top setting, according to tool makers like T3. That is hot enough to melt thin plastic and mark wood. The U.S. Fire Administration and the National Fire Protection Association both point to heat producing devices left on as a common home fire cause, which is why a fixed cooling spot matters.
So give every hot tool a safe home. The best organizers use stainless steel or silicone cups. Steel and silicone shrug off that heat, while bare acrylic can soften near 160°C, well below a hot iron’s top temperature, based on materials data. A steel cup lets a hot barrel rest and cool without touching anything that can burn.
Never coil a hot cord, never shut a hot tool in a drawer, and never lay one on a towel or a bed. Set it upright in a heat safe cup, then walk away and let it cool.
Match storage to your space (the room zone system)
There is no single best storage spot. The right one depends on your bathroom. Work through these five zones and pick the one or two that fit.
Countertop
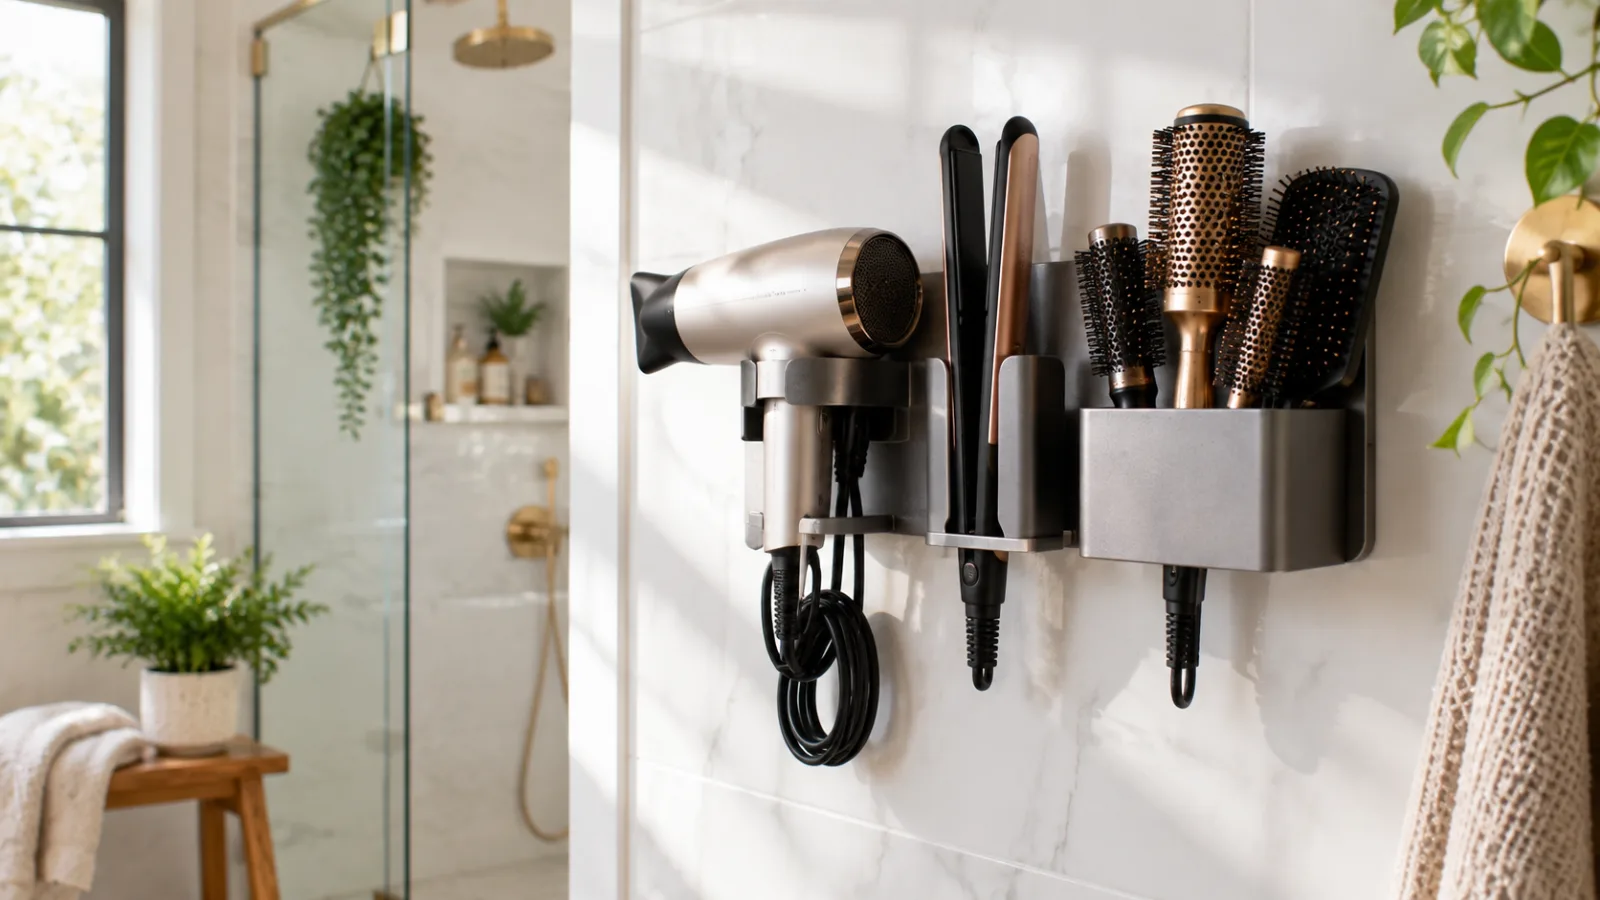
A countertop organizer suits daily tools and fast mornings. You see everything and grab it in a second. Choose one with steel cups so a hot iron has a safe rest spot right where you style. This is the simplest setup and the best for renters, since it needs no wall.
Drawer
A drawer hides tools for a clean look. Add dividers or an insert so each tool has a slot and cords stay apart. Store only cool tools in a drawer, because a closed drawer traps heat. Keep daily tools near the front.
Under the sink
The cabinet under the sink is wasted space in most homes. Use pull out bins or a small rack that slides around the pipe. Mount a dryer holder on the inside of the cabinet door to lift it off the floor. Store cool tools here, not hot ones.
Wall or over the door
When the counter is full, go vertical. A wall mount frees the most space and keeps tools off wet surfaces. Renters who cannot drill can use an over the door or over the cabinet holder for the same effect with no holes.
Vanity
A vanity gives you room to zone. Put a heat safe holder for hot tools on one side, a cup for brushes in the middle, and drawers for products. Keep the tool you use first closest to your outlet and mirror.
Pick the right material
Material decides how long your organizer lasts and how safely it holds heat. Four show up most: bamboo or wood, acrylic, stainless steel, and silicone.
Bamboo and wood look warm and hold up well when they are sealed. A sealed finish resists the humidity of a bathroom, so the wood does not warp. Raw or cheap wood can swell over time, so quality matters.
Acrylic looks clean but scratches, shows dust, and is not heat safe on its own. It works only when paired with steel or silicone cups for the hot tools.
Stainless steel is the heat champion. Most quality cups use 18/8 steel, which means 18 percent chromium and 8 percent nickel. It resists heat and rust and wipes clean.
Silicone is a flexible helper. It shows up as heat mats and cups rather than a whole organizer.
The strongest all round choice for a bathroom is sealed bamboo with steel cups. The wood suits the room, and the steel handles the heat. For a deeper look, read our guide on wood vs acrylic vs steel organizers.
Tame the cords
Cords cause half the mess. They tangle, they trip switches, and they pool on the counter.
Give each tool its own hook or slot. Secure the cord with a reusable hook and loop tie, then wrap it in a loose, wide loop. A tight coil kinks the wire and wears it out faster.
Keep cords and outlets away from the sink and any standing water. Pick an organizer with built in hooks so cords have somewhere to go instead of the floor.
Small bathroom and renter fixes
A small rental bathroom needs storage that leaves no holes and takes almost no space. You have three no drill options.
A freestanding organizer sits on the counter and needs no wall at all. An over the door or over the cabinet holder hangs without tools. A strong adhesive mount works on tile or sealed paint when it is rated above the tool weight.
Freestanding bamboo organizers are the safest bet for renters. They keep hot tools contained, they move with you, and they never risk your deposit. For more, see our guide to the best no drill organizers for renters and ideas for storing tools with no counter space.
How to store a Dyson Airwrap and other pricey tools
Expensive tools need their own plan. A Dyson Airwrap comes with many attachments that get lost fast, so its storage has to hold the handle and every barrel and brush in one place.
Use a holder built for the Airwrap, a stand, or a wall mount with sized slots. Keep it dry and out of dust, and let it cool for about 15 minutes before you close a case. The same idea applies to any premium tool: give it a fixed, protected home so it does not roll, drop, or lose parts. Our full guide covers how to store a Dyson Airwrap safely.
Keep it that way: a five minute weekly reset
Any system drifts without a small habit. Once a week, take five minutes to reset.
Return each tool to its spot. Re wrap any loose cords. Wipe product buildup off the steel cups. Toss anything you did not use. That short reset keeps the counter clear and the drawer tidy without a big cleanup later.
That covers the essentials of how to organize hair tools. Browse the related guides below for more, or explore the Canis Lycaon collection.
More on How To Organize Hair Tools
- How To Organize Hair Tools
- Best Bamboo Hair Tool Organizer Vanity
- Countertop vs In Cabinet Hair Tool Storage
- Wooden Bathroom Hair Tool Organizer
Frequently asked questions
What is the best way to store hair tools?
Store daily tools out in a heat safe organizer with steel or silicone cups, and keep occasional tools in a drawer or cabinet. Match the storage to your space, use the counter for what you use most, and go vertical when the counter is full. Always give hot tools a cool down spot before full storage.
How do you store hot hair tools safely?
Switch the tool off, set it upright in a steel or silicone cup away from anything flammable, and let it cool for 20 to 30 minutes before storing it. Never coil a hot cord or shut a hot tool in a drawer, bag, or on a towel, since trapped heat is a burn and fire risk.
How do you organize hair tools in a small bathroom?
Go vertical and use no drill mounts. A freestanding countertop organizer, an over the door holder, or a strong adhesive wall mount all save space without holes. Keep only daily tools out, store the rest, and pick one with steel cups so a hot iron always has a safe spot.
How do you store hair tools without drawers?
Use the walls and the counter. A countertop organizer with slots holds tools upright, and a wall or over the door mount adds space with no drawer needed. Group brushes in a cup and secure cords with ties so nothing pools on the surface.
How long should hot tools cool before you put them away?
Let them cool for 20 to 30 minutes. Many irons stay hot enough to burn skin or scorch a surface for 15 minutes or more after you switch them off. If you must leave sooner, rest the tool in a steel or silicone heat safe cup where it can finish cooling on its own.
What material is best for a hair tool organizer?
Sealed bamboo or wood with stainless steel cups is the best all round pick for a bathroom. The sealed wood resists humidity, and the steel cups take the heat from hot tools. Acrylic looks clean but is not heat safe on its own, and plain plastic can stain and warp.